
Organisation Admins have some extra features available to them to manage their users within Allsorter. This guide provides step-by-step instructions on how to access user details, edit user information, reset passwords, make users admins, disable users, and add new users.
User Management Settings
In the Users tab, you will be able to enable and disable users, add additional users, and set users as admins.
- Access your Allsorter account.
- Select the Settings cog from the left-side menu.

- Click "Users" to view the user details for your organisation.

Enabling or Disabling an Existing User
To enable or disable a user, click the blue person icon under Manage User. You will be able to change the user status here.
Disabling a User
If you disable a user who is currently active on Allsorter, it frees up a licence for you to assign to another user. You can then add a new user by clicking on the "add user" button.
- Click the blue person icon to access the settings for the user.

- You can disable this user by clicking "Disable Now".

Enabling a User
To re-enable a user in Allsorter, follow these updated steps:
- Go to the User Status dropdown menu and select Disabled Users.

- Locate the user you wish to enable.
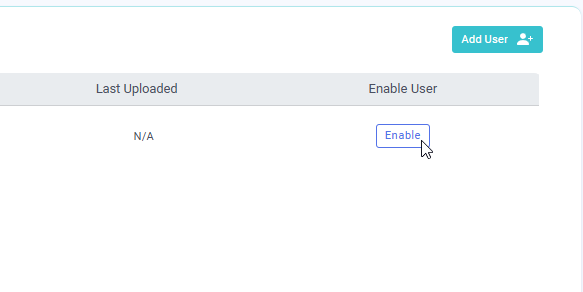
- Click the Enable button next to their name.
Adding a New User
- Click "Add User" to add additional users. There must be a licence available on your account to do so.

- Enter the user's details, including their name, email address (all in low caps), position, and any other relevant information. Then, check the box to specify if the user is a Standard User, an Organization Admin, or an Organization Manager. Finally, click Save, and the user will be created. If you want to learn more about the differences between Managers, Admins, and Standard Users, please click here.

- Click "Save" once completed to add the new user.

- By checking the box next to "Organisation Admin", you can provide organisation admin permissions to the new user.
You can only add a user manually if you use the standalone version of Allsorter. If your account is integrated with an ATS like Bullhorn, JobAdder, Vincere, Mercury, Tracker or Salesforce, you will not see an "Add User" button in Allsorter. New users automatically get assigned accounts in Allsorter when they access it through the ATS, provided you have available licences on your account.
Adding users via CSV File
-
Click on "Upload Users via CSV File".

-
On the next page, click the hyperlink labeled here to download a CSV file template with the required column headings.

-
Open the downloaded CSV file and fill in the user information in the appropriate columns. Make sure all required fields are completed.
-
Return to the upload section and click to select or drag and drop the filled-out CSV file.

-
Once the file is uploaded, click the Create Users button. The users will then be added to the system.

Reset a User's Password or Other Account Details
- Navigate to Settings using the left-side menu.
- Switch to the Users tab to view the list of users in your organisation.

- Click the blue person icon next to the chosen user.

- Click Set Now.

- Save and inform the user of their new temporary password.
Elevating User Permissions
You can also make other users Admins.
- Find the user in question and clicking on the "Admin" button.

Tracking User Uploads
In the Users tab, you can see how many CVs/resumes each user has uploaded next to their names, in the "Uploads" and "Last Uploaded" columns respectively.
